
Linux distributions like Ubuntu, Debian and CentOS make stable and robust web servers. One critical advantage of using Linux over Windows is that you can upgrade software without having to reboot. The main exception to this is kernel upgrades which require reboots. KernelCare overcomes this limitation so you can maintain 100% uptime while running the latest secure kernel patches.
Dirty COW is a serious exploit recently revealed. It allows regular users with shell access to escalate their privileges so they can run commands as root (exploit details) which is pretty serious. You can view a video explanation of the Dirty COW vulnerability here.
Note: KernelCare offers a free trial but costs a monthly fee (starting at $2.25-3.95 prices) depending on how many servers you want to use it on.
Enable Automatic Kernel Patches without Rebooting with KernelCare
Guide overview
- Checking uptime and kernel version
- Installation of KernelCare
- Using KernelCare
Checking Uptime and Kernel Version
Check your current uptime
uptimeOutput is 83 days, I would like to avoid resetting my uptime just because of a kernel update.
21:20:57 up 83 days, 21:24, 1 users, load average: 0.00, 0.01, 0.05Check CPU Type since KernelCare only works on 64-bit systems
uname -mIf it says x86_64 you’re all good
If you get i686 or arm then you are out of luck
Check kernel version
uname -rvYou will see output similar to this
3.16.0-4-amd64 #1 SMP Debian 3.16.7-ckt20-1+deb8u4 (2016-02-29)If it is not recent, you can have KernelCare update your kernel live without having to reboot.
Install KernelCare
Installing KernelCare on Ubuntu/Debian or CentOS is very easy.
Ubuntu and Debian
Ener the temporary folder and download the latest KernelCare deb package
cd /tmp
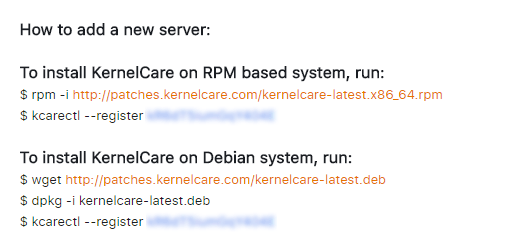
wget http://patches.kernelcare.com/kernelcare-latest.debInstall KernelCare deb package
sudo dpkg -i kernelcare-latest.debInstallation is done.
CentOS
Download and install Kernelcare on CentOS with the rpm command
rpm -i http://patches.kernelcare.com/kernelcare-latest.x86_64.rpmThat’s it for CentOS.
Using KernelCare
Perform the initial update with KernelCare
kcarectl --updateKernelCare will get the latest required patches and tell you your kernel is safe.
Kernel is safeYou can get the current status of KernelCare
kcarectl --infoMy old kernel version was 3.16.0 and KernelCare compiled and live patched my kernel to 3.16.36
kpatch-state: patch is applied
kpatch-for: Linux version 3.16.0-4-amd64 (debian-kernel@lists.debian.org) (gcc version 4.8.4 (Debian 4.8.4-1) ) #1 SMP Debian 3.16.36-1+deb8u1 (2016-09-03)
kpatch-build-time: Fri Oct 21 01:29:02 2016
kpatch-description: 2;3.16.36-1+deb8u2
You may think that checking your kernel now using the uname -rv command would show the update but it will not unless you reboot after doing a dist-upgrade.
If you registered an account with KernelCare you can add your current system to your account to easily manage licenses.
Your key is shown after registering an account
You can get your registration key by logging in to your account. The Key column has the registration key.
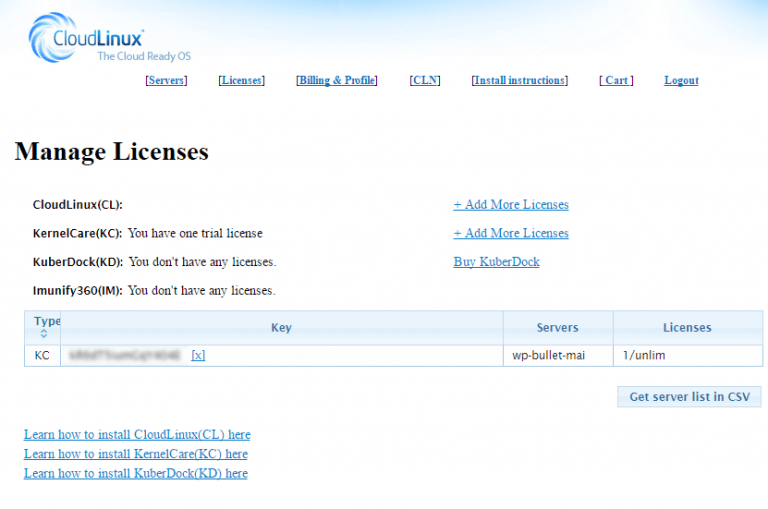
Then use the key to register under your account like this while replacing kR6qT8iumGqY101E with your actual key (below key is fake).
kcarectl --register kR6qT8iumGqY101EKernelCare will check for kernel upgrades every 4 hours and live patch automatically keeping you secure and up to date without having to reboot your server.
1 thought on “Enable Automatic Kernel Patches without Rebooting with KernelCare”
Comments are closed.