
Canonical’s Livepatch helps avoid Ubuntu reboots due to kernel upgrades. Livepatch is an alternative to KernelCare from CloudLinux which I showed how to set up here. Canonical are giving you up to 3 servers per account so you can keep those server’s kernels up to date without rebooting and avoid critical downtime!
Getting Started with Ubuntu Livepatch from Canonical
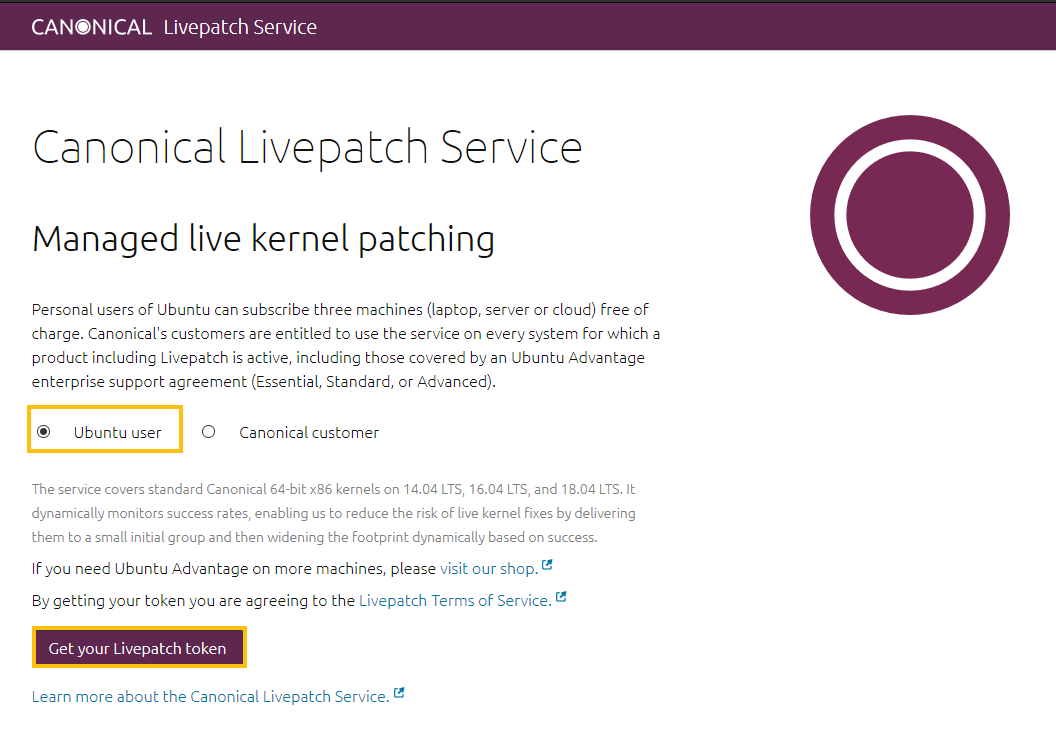
Sign up with this link https://auth.livepatch.canonical.com/?user_type=ubuntu-user and make sure to choose Ubuntu user then click the Get your Livepatch token
Get your token after logging in and you will see your token that you can easily copy to the clipboard by clicking the icon on the right.
The key for your admin@wp-bullet.com account is:

4e81a1fd20c1481bf20b15dbc3cdf91b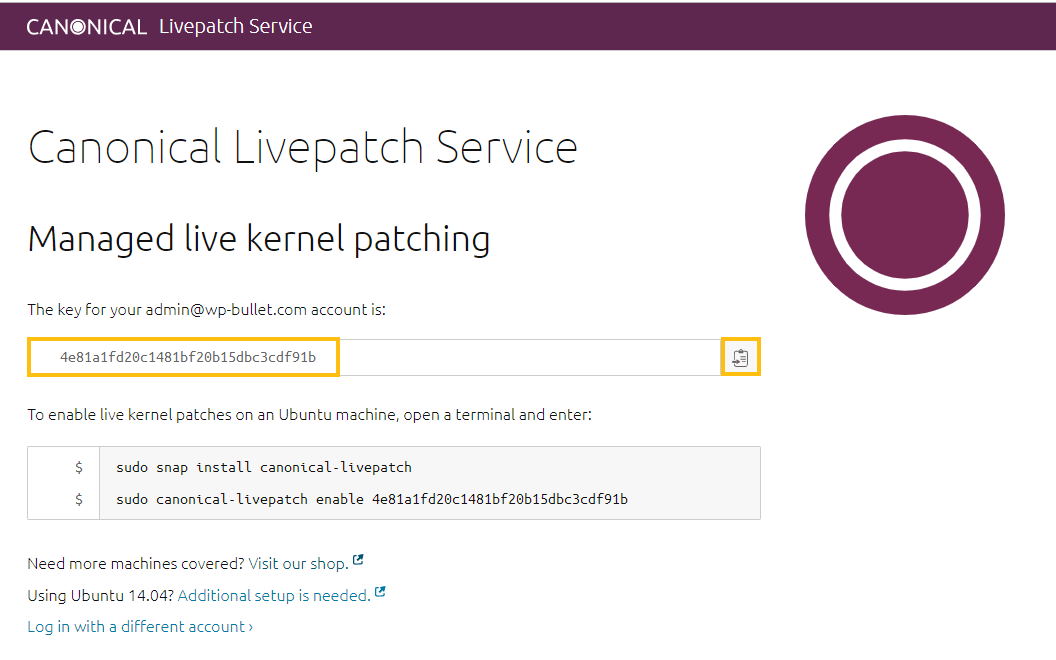
It’s now time to install the Livepatch service on your Ubuntu 18.04 server.
First install snapd
sudo apt install snapd -yNow you can install the Livepatch service
sudo snap install canonical-livepatchEnable the Livepatch for the server by entering the token with this command sudo canonical-livepatch enable <token>
sudo canonical-livepatch enable 4e81a1fd20c1481bf20b15dbc3cdf91bYou should see some output saying that Livepatch is enabled
Successfully enabled device. Using machine-token: 25aea9daeb9f490b8a3ad4880fce5ce8You can disable the kernel Livepatch with this command
sudo canonical-livepatch disable 4e81a1fd20c1481bf20b15dbc3cdf91bYou should see output saying Livepatch is no longer enabled for that server
Successfully disabled device. Removed machine-token: 25aea9daeb9f490b8a3ad4880fce5ce8If you see this error This machine ID is already enabled with a different key or is non-unique then follow these instructions to re-generate a unique machine id.