
For privacy and vanity reasons you can add custom DNS nameservers using Cloudflare. This tutorial will show you how to add the custom nameservers to Cloudflare and how to get the IP addresses of these new nameservers so you can add them as glue records to your DNS registrar (where you purchased the domain).
If you would like help configuring this please get in touch on Codeable.
This is for Business and Enterprise Cloudflare plans only!
How to Configure Custom DNS Nameservers with Cloudflare
This guide is split up into these sections
- Adding your Custom Namerservers
- Making sure your DNS Registrar has the correct records
Adding Custom Nameservers in Cloudflare
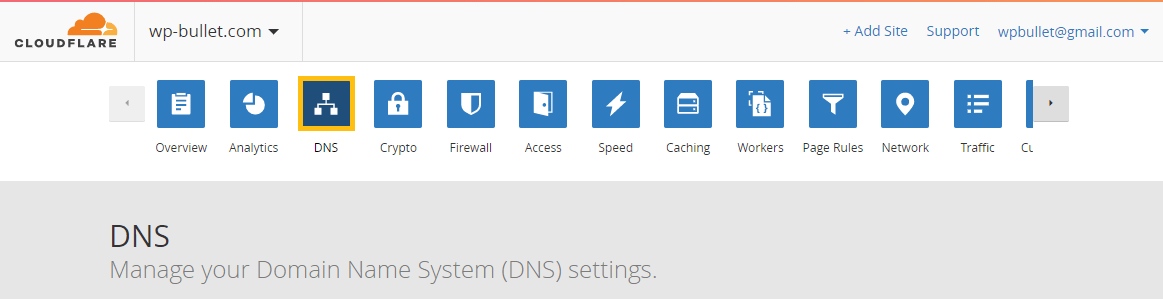
Log in to Cloudflare and choose DNS from the top
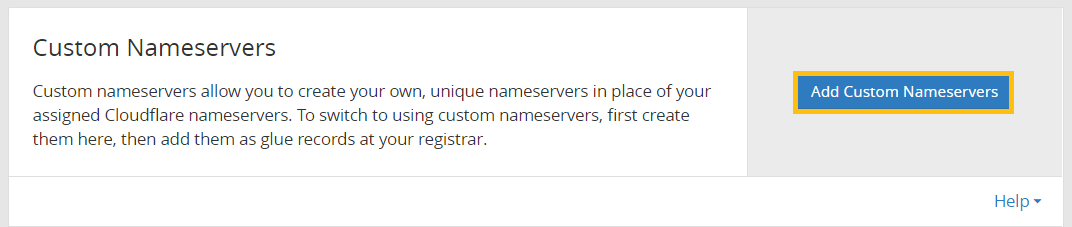
Scroll down until you see the Custom Nameservers section and click Add Custom Nameservers.
If you see the Upgrade to Business Plan button instead then you are either on the Free or Pro plan neither of which support custom nameservers.
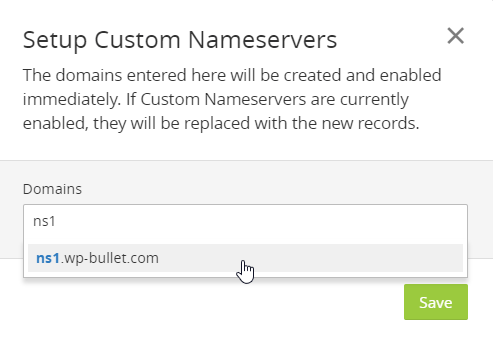
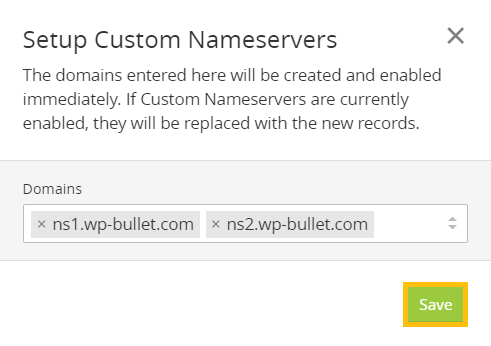
You will see this dialog box. Your custom nameservers need to be on a subdomain of your main domain.
Here I enter ns1 to make the first server ns1.wp-bullet.com, clicking on the full nameserver name that drops down adds it to the list.
Add the second custom nameserver the same way, here it is ns2.wp-bullet.com
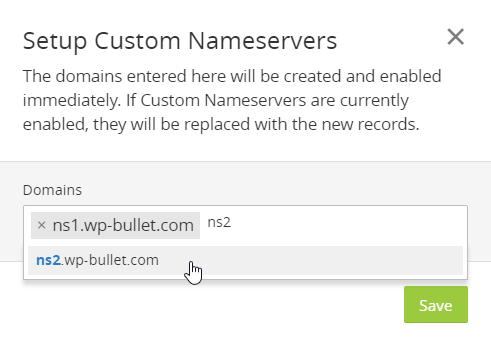
When both nameservers are added click Save
Now you have an overview for your custom nameservers, you can now add more nameservers using the textbox at the bottom and clicking the check icon.
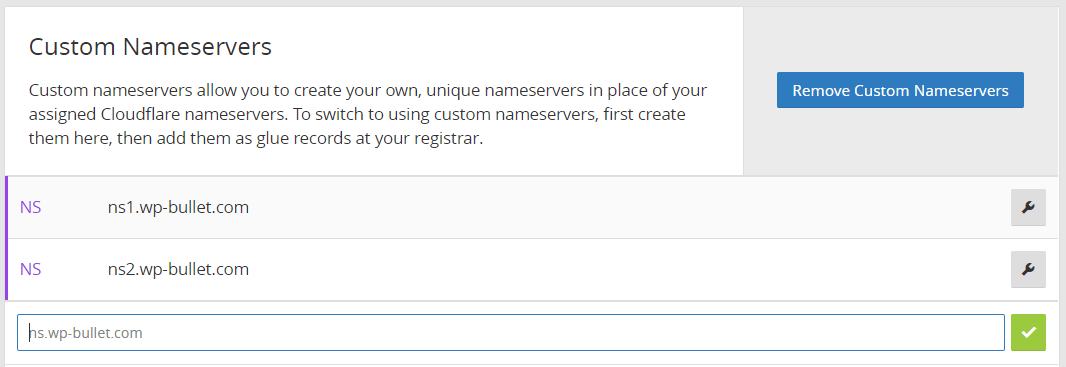
Please remember that using custom nameservers with Cloudflare requires a minimum of 2 and maximum of 5 nameservers
Adding Custom Nameservers to DNS Registrar
Now that the nameservers are added in Cloudflare, we need to get the IP addresses of them and add them as glue records to the DNS Registrar (where you purchased the domain).
We are going to use Linux to get the IP addresses of the new nameservers. The tools for getting IPs from DNS records in Linux are dig and nslookup.
On Debian and Ubuntu, dig and nslookup require the dnsutils package (source)
sudo apt install dnsuntilsOn CentOS the package with dig and nslookup is bind-utils (source)
yum install bind-utilsNow that we have nslookup and dig installed we can get the IP addresses of the nameservers.
We need both the IPv4 (normally used for A records) and the IPv6 addresses (normally used for AAAA records).
To check the current nameservers of your domain using dig
dig wp-bullet.com NS +shortThe current nameservers are using Cloudflare’s predetermined nameservers.
dawn.ns.cloudflare.com.
burt.ns.cloudflare.com.
Time for the custom nameserver IPs, remember to repeat these steps for each custom nameserver!
Get Nameserver IPs with dig
This section is for using dig to get the IPv4 and IPv6 addresses of your custom nameservers.
IPv4 Records with dig
A dig lookup for the IPv4 address looks like this
dig ns1.wp-bullet.com @ada.ns.cloudflare.com +shortThe output contains the IPv4 address
173.245.58.106Now for the IPv6 record!
IPv6 Records with dig
A dig lookup for the IPv6 address looks like this
dig ns1.wp-bullet.com @ada.ns.cloudflare.com AAAA +shortThis is the IPv6 Address
2400:cb00:2049:1::adf5:3a6aNow you have both the IPv4 and IPv6 addresses you can add them as glue records in your DNS registrar.
Using nslookup
This section is for using nslookup to get the IPv4 and IPv6 addresses of your custom nameservers.
IPv4 Records with nslookup
An nslookup for IPv4 looks like this
nslookup ns1.wp-bullet.comThe output contains the IPv4 address
Server:         108.61.10.10
Address:        108.61.10.10#53

Non-authoritative answer:
Name:   ns1.wp-bullet.com
Address: 173.245.58.106
Now for the IPv6 records 🙂
IPv6 Records with nslookup
An nslookup for IPv6 looks like this
nslookup -query=AAAA ns1.wp-bullet.comThis is the IPv6 Address
Server:         108.61.10.10
Address:        108.61.10.10#53

Non-authoritative answer:
ns1.wp-bullet.com  has AAAA address 2400:cb00:2049:1::adf5:3a6a
Now you have both the IPv4 and IPv6 addresses you can add them as glue records in your DNS registrar
Checking New Nameservers
After adding the glue records at your DNS registrar and switching to your custom nameservers there too, check the new nameservers are in effect.
Let’s use dig this time
dig wp-bullet.com NS +shortThe output now
ns1.wp-bullet.com.
ns2.wp-bullet.com.
Congratulations!
Sources
Can I get vanity or custom nameservers using Cloudflare?
Getting IPv6 address by hostname